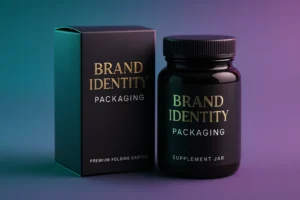
Brand Identity Packaging: 2025 Guide to Strategy, Structure & Shelf Impact
Intro
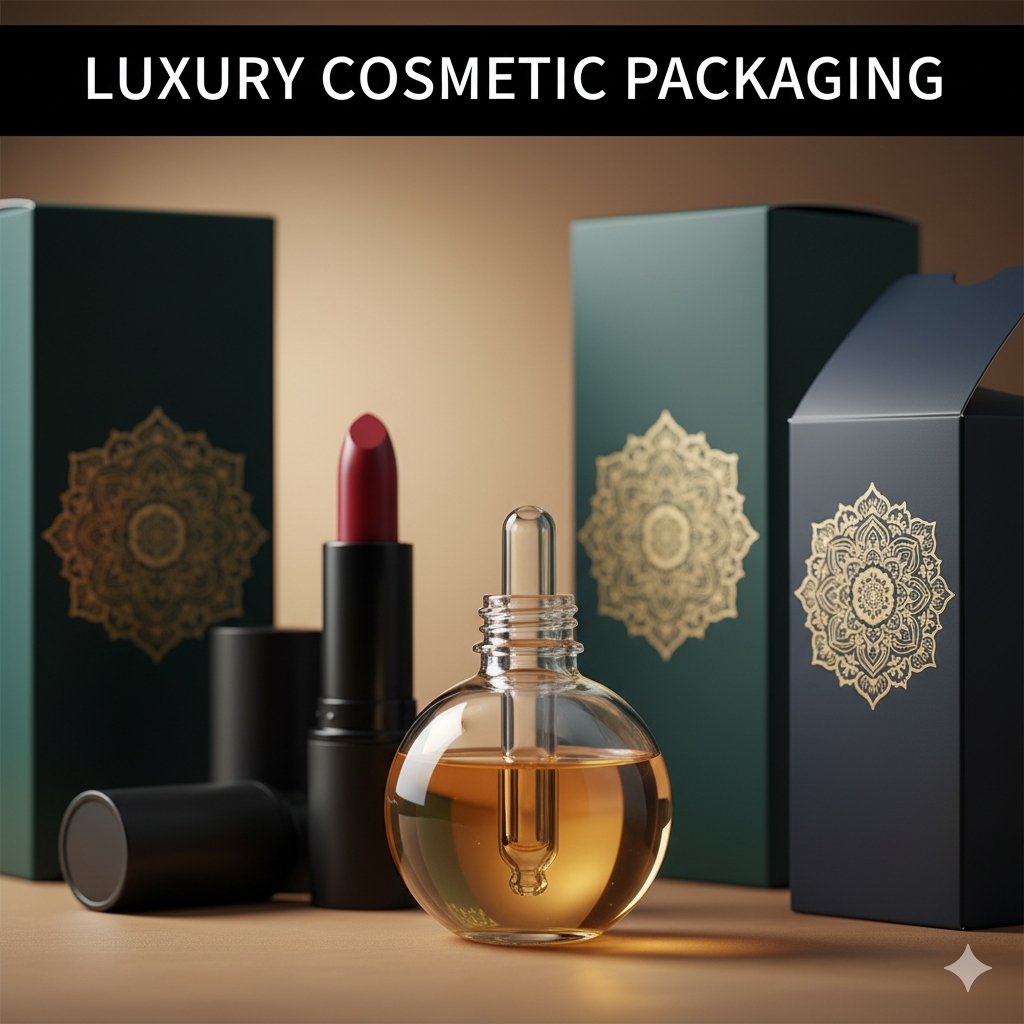
If your product is great but conversions feel “meh,” chances are your brand identity packaging isn’t fully aligned. In 2025, the combo of identity (story, voice, visuals) + packaging (structure, compliance, print physics) is what turns browsers into buyers. This guide explains brand identity packaging end-to-end — industry context, services to expect, a scorecard to evaluate quality, step-by-step process, finishes, sustainability, and e-commerce visuals — so your next launch looks premium online and on shelf.
Table of Contents
-
Why “Brand Identity Packaging” Matters
-
Industry Context: What’s Different in 2025
-
Services & Features (What to Expect)
-
Scorecard: 12 Evaluation Points
-
Process: Strategy → Structure → Artwork → Prepress → Print
-
Visual System & Hierarchy (Readable, Scannable, Shoppable)
-
Compliance & Regulations (By Category/Region)
-
Print Methods & Finishes (Offset/Digital/Flexo + Embellishments)
-
E-Commerce Readiness (Thumbnail → PDP → Unboxing)
-
Sustainability (Real, Not Greenwashing)
-
Mistakes & Quick Fixes
-
Files, Color & Prepress (What Printers Actually Need)
-
Timelines, MOQs & Cost Levers
-
Hire CTA + Internal Portfolio Links
1) Why “Brand Identity Packaging” Matters
Your pack is the face of your brand. Done right, brand identity packaging delivers:
-
Higher CTR from a clean, high-contrast thumbnail.
-
Better CVR on the PDP via clear hierarchy + proof cues.
-
Fewer reprints/returns thanks to strong prepress and accurate info.
-
Consistency across 3→30 SKUs without brand drift.
TL;DR: Less friction, more sales — and a brand that actually feels premium.
2) Industry Context: What’s Different in 2025
-
Micro-launches & pilots: Digital print lets you test variants with low MOQs.
-
Omnichannel reality: One design must perform in reels, retail, and 3D renders.
-
Regulatory pressure: Supplements/food/pet/vape have tighter standards.
-
Ops x Brand: Right-sized structures save shipping; sloppy dielines cost margin.
-
3D-first marketing: Photoreal renders accelerate listings and A/B tests.
3) Services & Features (What to Expect)
A capable partner for brand identity packaging should cover:
-
Brand Strategy: Positioning, naming, messaging, voice, brand book.
-
Structural Design: Custom dielines, inserts, white mocks, transit/fit tests.
-
Visual System: Type scales, color tokens, iconography, variant logic.
-
Compliance Mapping: Category/region checklists (claims, panels, icons).
-
Prepress & Color: Bleeds, trapping, overprint/knockout, Pantone governance, delta-E logs.
-
Vendor Collaboration: Offset/digital/flexo selection; QC checkpoints.
-
E-Com Visuals: Photoreal 3D packshots, macro details, lifestyle scenes.
-
Sustainability Options: FSC boards, soy inks, right-size, minimal foil.
-
Launch Kit: Thumbnail system, PDP gallery, unboxing storyboard, reprint SOP.
4) Scorecard: 12 Evaluation Points
-
Case-study depth (results, not just pretty pics).
-
Niche fluency (food vs supplements vs pet vs vape).
-
Dieline engineering beyond stock templates.
-
Compliance rigor (matrix by region/category).
-
Prepress samples (bleeds, separations, spot layers).
-
Color management (Pantone proofs, delta-E targets).
-
Variant scalability (3 → 30 SKUs without chaos).
-
3D/PDP readiness (renders match final print).
-
Printer network and finishing capability.
-
Sustainability clarity (real substrates/coats, honest claims).
-
Project management (sprints, feedback hygiene, versioning).
-
Post-launch support (reprints, color drift logs, SKU expansions).
5) Process: Strategy → Structure → Artwork → Prepress → Print
-
Discovery: Audience, promise, regulatory region, SKU map, channels.
-
Structure: Custom dieline; white mock; fit + transit checks; insert logic.
-
Identity & System: Logo rules, type scales, color tokens, icon set.
-
Copy & Compliance: Nutrition/Supplement Facts, usage, warnings, certs.
-
Artwork Assembly: Linked 300 DPI images, vector barcodes/QR, spot layers for foil/varnish.
-
Prepress: 3 mm bleed, trapping, overprint control, rich-black rules.
-
Proofing: Soft proof; hard proof for color-critical SKUs.
-
Production: Offset/digital/flexo; finishes (foil, emboss/deboss, spot UV).
-
QC & Logistics: Glue/rub tests, pallet labels, insert fit, inner print checks.
-
Rollout: PDP packshots, macro compliance shots, reels, unboxing flow.
-
Post-launch: Delta-E logs, reprint notes, cost optimization.
6) Visual System & Hierarchy (Readable, Scannable, Shoppable)
Design for the 3-second read across shelf and screen:
-
Top band: product name + primary benefit.
-
Center: one hero claim (iconized), uncluttered.
-
Lower band: variant + net wt + mandatory microcopy.
-
Side/back: usage, ingredients, certifications, brand story.
Use 2–3 font families max, consistent spacing, and strong contrast for micro text. Document tokens (spacing, radii, shadows) so future SKUs stay on-brand.
7) Compliance & Regulations (By Category/Region)
-
Food: Nutrition Facts, allergens, origin, date code; region-specific layouts.
-
Supplements: Supplement Facts, structure/function disclaimers, lot/expiry.
-
Pet: AAFCO or local equivalents; species clarity; feeding guide.
-
Vape/Restricted: Age marks, state warnings, claim limitations.
Build a shared compliance matrix and run preflight checks before print.
8) Print Methods & Finishes (Offset/Digital/Flexo + Embellishments)
-
Offset (litho): Best for high-quality cartons at scale; tight registration.
-
Digital (HP Indigo etc.): Low MOQ, fast iteration, variable data.
-
Flexo: Pouches, labels, corrugate — efficient on volume.
Finishes & Embellishments
-
Coatings: AQ, UV, soft-touch (mind rub resistance).
-
Foils: Metallic/holo — crown hero zones only.
-
Spot UV: Pop logos/claims; avoid over micro text.
-
Emboss/Deboss: Premium tactility; test board crack risk.
-
Metallic/Neon inks: High impact; protect legibility.
9) E-Commerce Readiness (Thumbnail → PDP → Unboxing)
-
Thumbnail: clean background, bold benefit, strong edge contrast.
-
PDP gallery: front/back, angle, macro, lifestyle, cert close-up.
-
Unboxing: easy-open tear, neat folds, no ink rub, inside-print surprise.
-
Motion: 9:16 reels with quick benefits + macro finish details.
Smart brand identity packaging teams build PDP assets alongside the carton artwork — same sprint, not an afterthought.
10) Sustainability (Real, Not Greenwashing)
-
Boards: FSC/PEFC, recycled SBS, right-sized structures.
-
Inks/coats: Soy/vegetable inks, water-based coatings.
-
Design: Minimal ink coverage, restrained foils, smart inserts.
-
Ops wins: Lower dimensional weight → shipping savings.
Keep claims honest and verifiable; use a link/QR to your sustainability page.
11) Mistakes & Quick Fixes
-
Tiny text over texture: Add a solid chip; boost contrast.
-
RGB/spot leftovers: Convert to CMYK/Pantone; embed profile.
-
No bleed / wrong scale: 3 mm bleed; validate dieline at 100%.
-
Barcode fails: Test scans on printed proofs, real phones.
-
Over-finishing: 1–2 hero finishes max; premium ≠ noisy.
-
Claim inconsistency: Maintain a source-of-truth document across SKUs.

12) Files, Color & Prepress (What Printers Actually Need)
-
Files: AI/PDF with outlined fonts + linked images at 300 DPI.
-
Color: Pantone notes + CMYK breakdown; use rich black only for large solids.
-
Layers: Dieline, varnish, foil as separate spot layers with clear names.
-
Overprint: Cautious; knockout small white type.
-
Trapping: 0.1–0.2 mm to avoid halos on tight registration.
-
Barcodes/QR: Vector preferred; maintain quiet zones; print + test.
13) Timelines, MOQs & Cost Levers
-
Design (identity + pack): 2–4 weeks depending on SKU count.
-
Printing: Digital ~3–7 days; Offset ~7–14 days (finishes add time).
-
MOQs: Digital 100–1000 workable; Offset cost-efficient at 1000+.
-
Cost levers: Board thickness, finish count, gang-runs across variants, logistics planning.
Pro tip: Pilot with digital, then scale to offset when demand stabilizes.
14) Hire CTA + Internal Portfolio Links
Want brand-level polish with maker-speed execution? Dekho real work:
-
Vape & Impact Cartons: Vape Packaging Design Store
-
Food & Sushi Boxes: Sushi Packaging Design
DM your SKU list + category + region — I’ll map structure, finishes, and a press-ready launch plan.FAQs
Q1. What is brand identity packaging in simple words?
It’s the marriage of brand identity (story, voice, visuals) with packaging (structure, compliance, print). Together they create a consistent, high-performing pack.Q2. Which print method should I choose?
Short runs/speed → Digital. Larger retail runs → Offset. Labels/pouches/corrugate → Flexo. Many brands use a mix per SKU.Q3. How long does it take to launch?
Design 2–4 weeks; print 3–14 days depending on method and finishes. Add days for foil/emboss/spot UV.Q4. Do I need certifications/icons on pack?
If relevant: FSC/PEFC, allergens, age marks, FDA-style disclaimers, recyclable/cruelty-free. Only use legit, verifiable marks.Q5. What files do printers prefer?
AI/PDF with outlined fonts, 300 DPI linked images, Pantone notes, vector barcodes/QR, 3 mm bleed, separate spot-color layers for foil/varnish.Q6. How do I maintain color consistency?
Lock Pantones, request hard proofs for hero SKUs, track delta-E variations, standardize lighting for photos/renders.Q7. Can you also deliver e-commerce visuals?
Yes — photoreal 3D renders, lifestyle scenes, and macro close-ups matched to final print artwork.