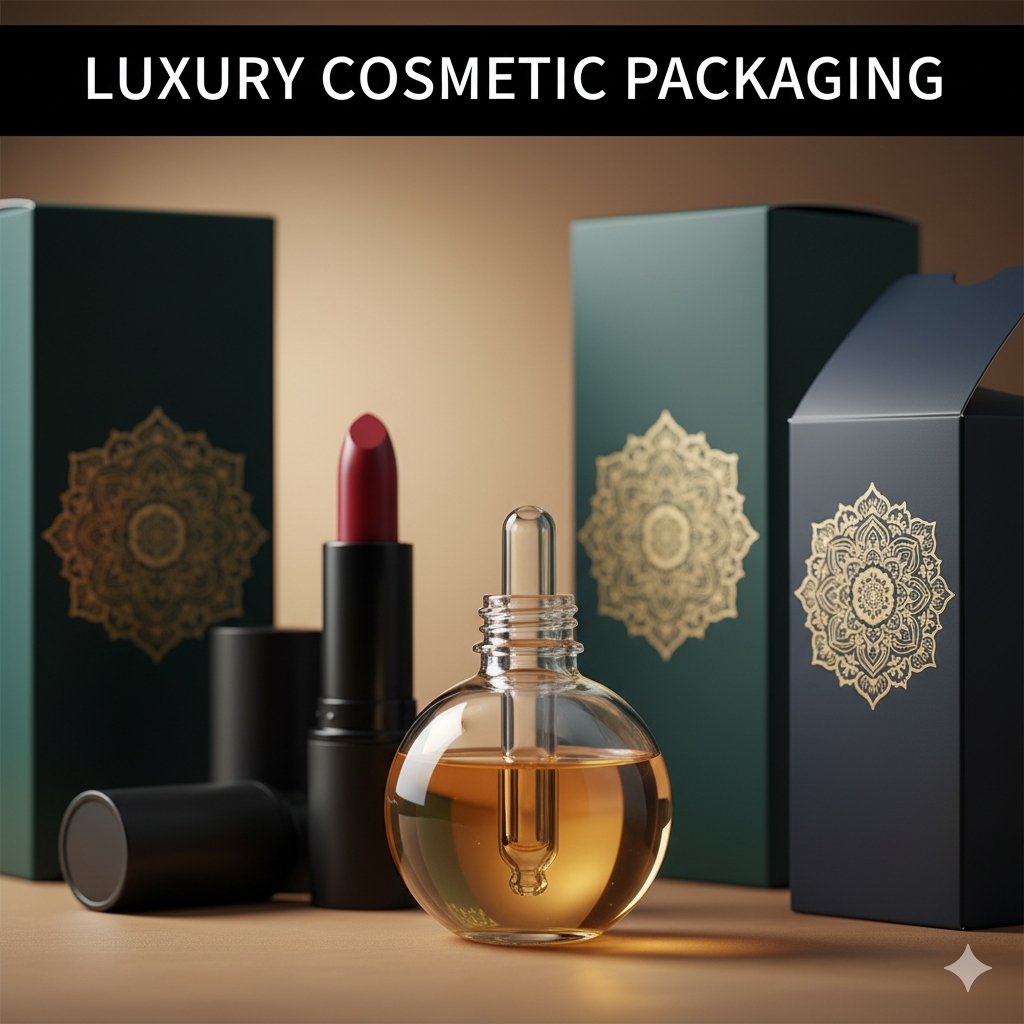
Custom Packaging Print: The Complete 2025 Guide to Design, Prepress & Conversion
Intro
If you’re serious about brand impact and sales, custom packaging print is the real MVP. From materials and print methods to dielines, certifications, thumbnails, and unboxing, this guide breaks down everything — in plain, practical language. We’ll align your visual system, ensure compliance, and get your files press-ready so your custom packaging print looks premium online and in-hand. Result? Better shelf pop, higher trust, and smoother re-orders.
Table of Contents
-
Why Custom Packaging Print Matters in 2025
-
Industry Context: What’s Different Now
-
Services & Features to Demand from Your Vendor
-
Scorecard: How to Evaluate Quality (10-Point List)
-
Process: From Brief to Press (Step-by-Step)
-
Visual System & Hierarchy (Readable, Scannable, Shoppable)
-
Compliance & Regulations (Don’t Risk It)
-
Print Methods & Finishes (Offset, Digital, Flexo + Embellishments)
-
E-Commerce Readiness (Thumbnail → PDP → Unboxing)
-
Sustainability (Materials, Inks, and Certifications)
-
Mistakes & Quick Fixes (Save Time & Budget)
-
Files, Color, and Prepress (What Printers Actually Need)
-
Timelines, MOQ & Cost Levers
-
Hire CTA + Portfolio Links
1) Why Custom Packaging Print Matters in 2025
Consumer attention is fragmented, competition is wild, and platforms reward products that look premium in the feed. Custom packaging print is where brand, compliance, and conversion meet. It carries your identity, clarifies claims, protects the product, and triggers “buy” impulses online. Do it right and you get higher CTR (thumbnail), better CVR (PDP), and fewer returns (clear info + quality feel).
2) Industry Context: What’s Different Now
-
Short runs & micro-launches: Digital print has made it viable to test flavors/variants with low MOQs.
-
Retail + DTC blend: Your box must work on shelf and as a social ad thumbnail.
-
Regulatory check: Supplements, pet, food, and vape niches face tighter labeling norms.
-
Sustainability pressure: Kraft, recycled boards, soy inks, minimalist ink coverage are trending — not just for PR, but shipping savings too.
3) Services & Features to Demand from Your Vendor
When you commission custom packaging print, ask for:
-
Dieline engineering (fit + tolerances + glue flaps).
-
Material guidance (SBS/CUK/Kraft; pouch films; jar/label combos).
-
Color management (Pantone + CMYK conversion proofing).
-
Prepress checks (overprint/knockout, trapping, bleeding).
-
Compliance review (panel hierarchy, claims, icons).
-
Speed options (rush print, split shipments).
-
Sustainability options (recycled content, water-based coatings).
4) Scorecard: How to Evaluate Quality (10-Point List)
-
Color consistency across batches.
-
Text legibility at 7–9pt small print.
-
Material stiffness vs product weight.
-
Edge finishing (no cracking on folds).
-
Registration accuracy on tiny icons.
-
Coating uniformity (no mottling).
-
Barcode/QR scanability on real phones.
-
Lamination adhesion (no peel on creases).
-
Glue strength at stress points.
-
Unboxing feel (tactile + clean).
5) Process: From Brief to Press (Step-by-Step)
-
Discovery — product specs, SKU map, claims, regulatory region.
-
Structure — dieline + fit testing (mockups/3D renders).
-
Visual system — brand palette, type, icon set, hierarchy.
-
Copy & compliance — ingredients, net wt, warnings, certs.
-
Artwork assembly — layered, linked assets; print profile.
-
Prepress — bleed (usually 3mm), overprint/knockout, trapping.
-
Proofing — digital soft proof + hard proof if color-critical.
-
Production — method, substrate, finish, QC checkpoints.
-
Logistics — flat-packing, palletizing, carton labels.
-
Post-launch — feedback, color delta E tracking, re-order SOP.
6) Visual System & Hierarchy (Readable, Scannable, Shoppable)
Your custom packaging print should answer in 3 seconds: What is it? For whom? Why this one?
-
Top band: product name + benefit.
-
Mid panel: hero claim(s) with icon.
-
Lower panel: size/variant; compliance microcopy.
-
Side/back: usage, nutrition/ingredients, certifications, social proof.
Use consistent grid, 2–3 font families, and high-contrast color pairings for small text.
7) Compliance & Regulations (Don’t Risk It)
Different niches, different rules.
-
Supplements: FDA-style panels, structure/function disclaimers, lot/expiry.
-
Food: Nutrition Facts, allergens, country of origin.
-
Pet: AAFCO or local equivalents, species clarity, feeding guide.
-
Vape / Restricted: age marks, state-specific warnings, no medical claims.
Build a master compliance checklist per SKU and review before final custom packaging print.
8) Print Methods & Finishes
-
Offset (Litho): Highest quality for cartons, great for big runs.
-
Digital (HP Indigo, etc.): Short runs, variable data, fast iterations.
-
Flexo: Pouches, labels, corrugate — efficient for volume.
Finishes / Embellishments:
-
Coatings: AQ, UV, soft-touch.
-
Foils: Gold, holographic for premium cues.
-
Spot UV: Pops key claims or logos.
-
Emboss/Deboss: Tactile luxury.
-
Metallic/Neon inks: Careful with readability at small sizes.
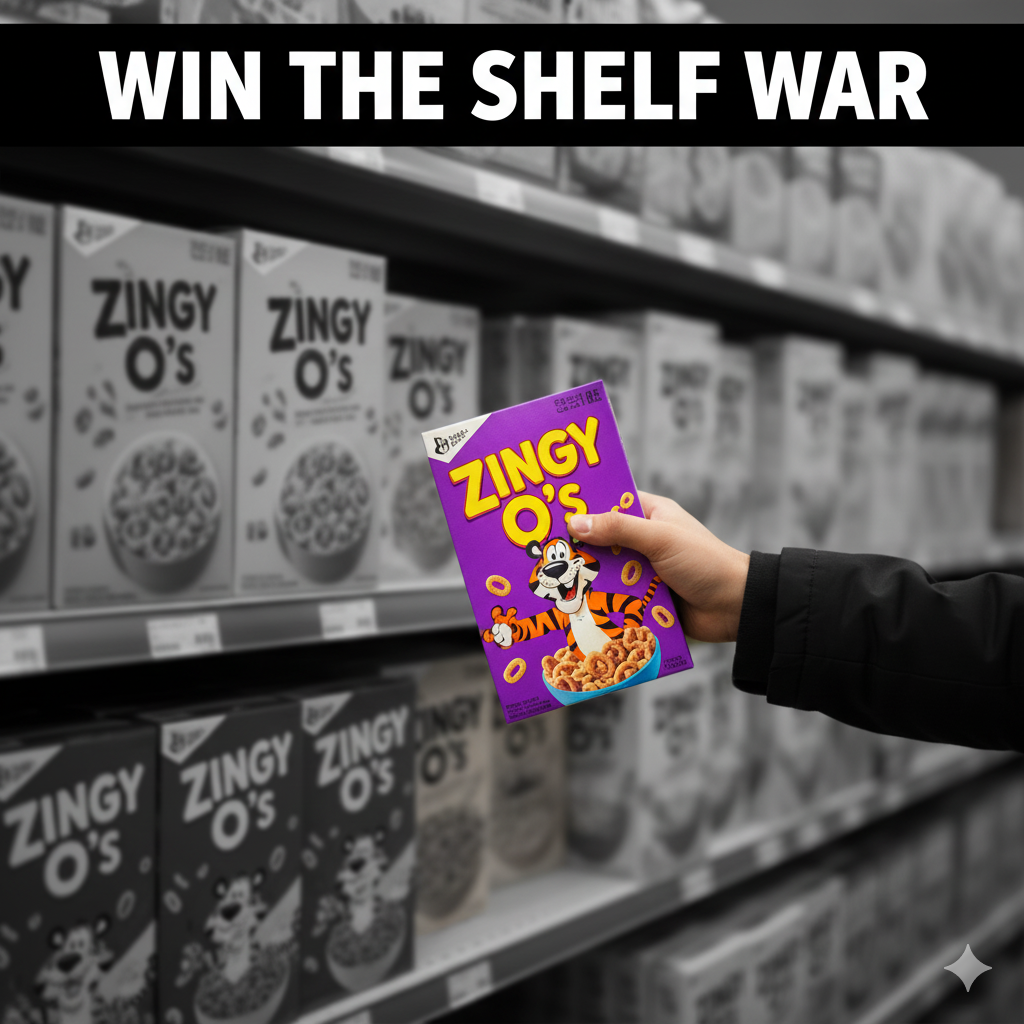
9) E-Commerce Readiness (Thumbnail → Unboxing)
Your custom packaging print must look killer at 120px and 12 inches.
-
Thumbnail: high contrast, clean background, one big claim.
-
PDP gallery: front, back, angle, macro, lifestyle, certification close-up.
-
Unboxing: neat folds, no ink rub, tear-free opening, inside print surprise.
-
Retail + DTC: add a tiny QR for “how-to” reels or ingredient sourcing story.
10) Sustainability
-
Substrates: recycled SBS, Kraft, or FSC/PEFC certified boards.
-
Inks & coats: soy/vegetable inks, water-based coatings.
-
Right-size packaging: fewer fillers; dimensional weight savings.
-
Minimal foil coverage: keep glam but reduce waste.
Make sustainability a visible asset on your custom packaging print with simple, honest icons.
11) Mistakes & Quick Fixes
-
Mistake: Tiny text over textured backgrounds.
Fix: Add a solid chip behind copy; increase contrast. -
Mistake: RGB/Spot colors left unconverted.
Fix: Convert to CMYK/Pantone; include a print profile. -
Mistake: No bleed/incorrect dieline scale.
Fix: 3mm bleed min; verify dieline at 100% scale. -
Mistake: Inconsistent claims across SKUs.
Fix: Single source of truth doc; batch update. -
Mistake: Overusing finishes.
Fix: Prioritize 1–2 embellishments on hero zones only.
12) Files, Color, and Prepress (What Printers Actually Need)
-
Files: AI/PDF with outlined fonts + linked images at 300 DPI.
-
Color: Pantone callouts + CMYK breakdown; avoid 4-color black for small text (use rich black only for large solids).
-
Layers: Keep dieline, varnish, foil on separate spot-color layers named clearly (e.g., “VARNISH_SPOT”).
-
Barcodes/QR: Vector if possible; test on printed proof.
-
Overprint: Use with caution on black; knockout for small white type.
-
Trapping: 0.1–0.2 mm where needed to avoid halos.
13) Timelines, MOQ & Cost Levers
-
Timelines: 2–3 weeks design, 3–10 days print (digital faster).
-
MOQ: Digital 100–1000; Offset often 1000+.
-
Cost Levers: board thickness, coating type, number of SKUs (gang runs), shipping mode, and wastage planning.
Pro tip: For launch, use digital custom packaging print to validate variants; switch to offset once demand stabilizes.
14) Hire Us (Portfolio Links Inside)
If you want custom packaging print that’s beautiful and compliant, I’ve got you. See real projects:
-
Vape & High-impact Cartons: Vape Packaging Design Store
-
Food & Sushi Boxes: Sushi Packaging Design
DM me your SKU list + regulatory region and I’ll guide you from dieline to delivery.
FAQs
Q1. What’s the best material for custom packaging print?
For cartons: 16–20pt SBS for retail premium; CUK for durability; Kraft for eco vibes. For pouches/labels: match barrier needs (moisture, aroma) and choose matte/gloss as per brand.
Q2. How long does the whole process take?
Design 2–3 weeks, print 3–10 days depending on method and queue. Digital is fastest for pilots; offset for stable SKUs.
Q3. Which print method should I choose?
Short runs/fast testing → Digital. Larger retail runs → Offset. Pouches/corrugate/labels → Flexo. Your SKU mix may use a combo.
Q4. Do I need icons/certifications on pack?
If applicable, yes: FDA-style disclaimers, allergen icons, age marks, FSC/PEFC, cruelty-free, etc. Only use legit, verifiable marks.
Q5. What files does the printer need?
AI/PDF with outlined fonts, linked 300 DPI images, separate spot-color layers for varnish/foil, 3mm bleed, Pantone notes, barcodes vector or high-res.
Q6. What’s the typical MOQ?
Digital can start at 100–1000 units; offset often needs 1000+ to be cost-efficient. Ask for gang runs to lower per-unit cost across variants.
Q7. How do I ensure color consistency across reprints?
Lock Pantone values, keep a color standard swatch, request hard proofs for hero SKUs, and track delta E on re-orders.